


How to Do Your Own Wedding Makeup: A Bride’s Step-by-Step Guide
January 31, 2025
When it comes to wedding makeup, I usually advise against doing it yourself. I say this from personal experience. I did my own makeup on my wedding day, and my hands were shaking so much that I had to ditch the liquid eyeliner I had planned. Looking back at my wedding photos, I can’t help but feel a little sad that my makeup wasn’t exactly how I envisioned it.
If you’re interested, here’s my makeup on my wedding day (big bold eyebrows were fashionable back then 😅)
That being said, for some brides, doing their own wedding makeup makes perfect sense. Whether it’s because they love makeup, want full control over their look, or simply find it calming to stick to their usual routine, DIY wedding makeup can be a great option if done right.
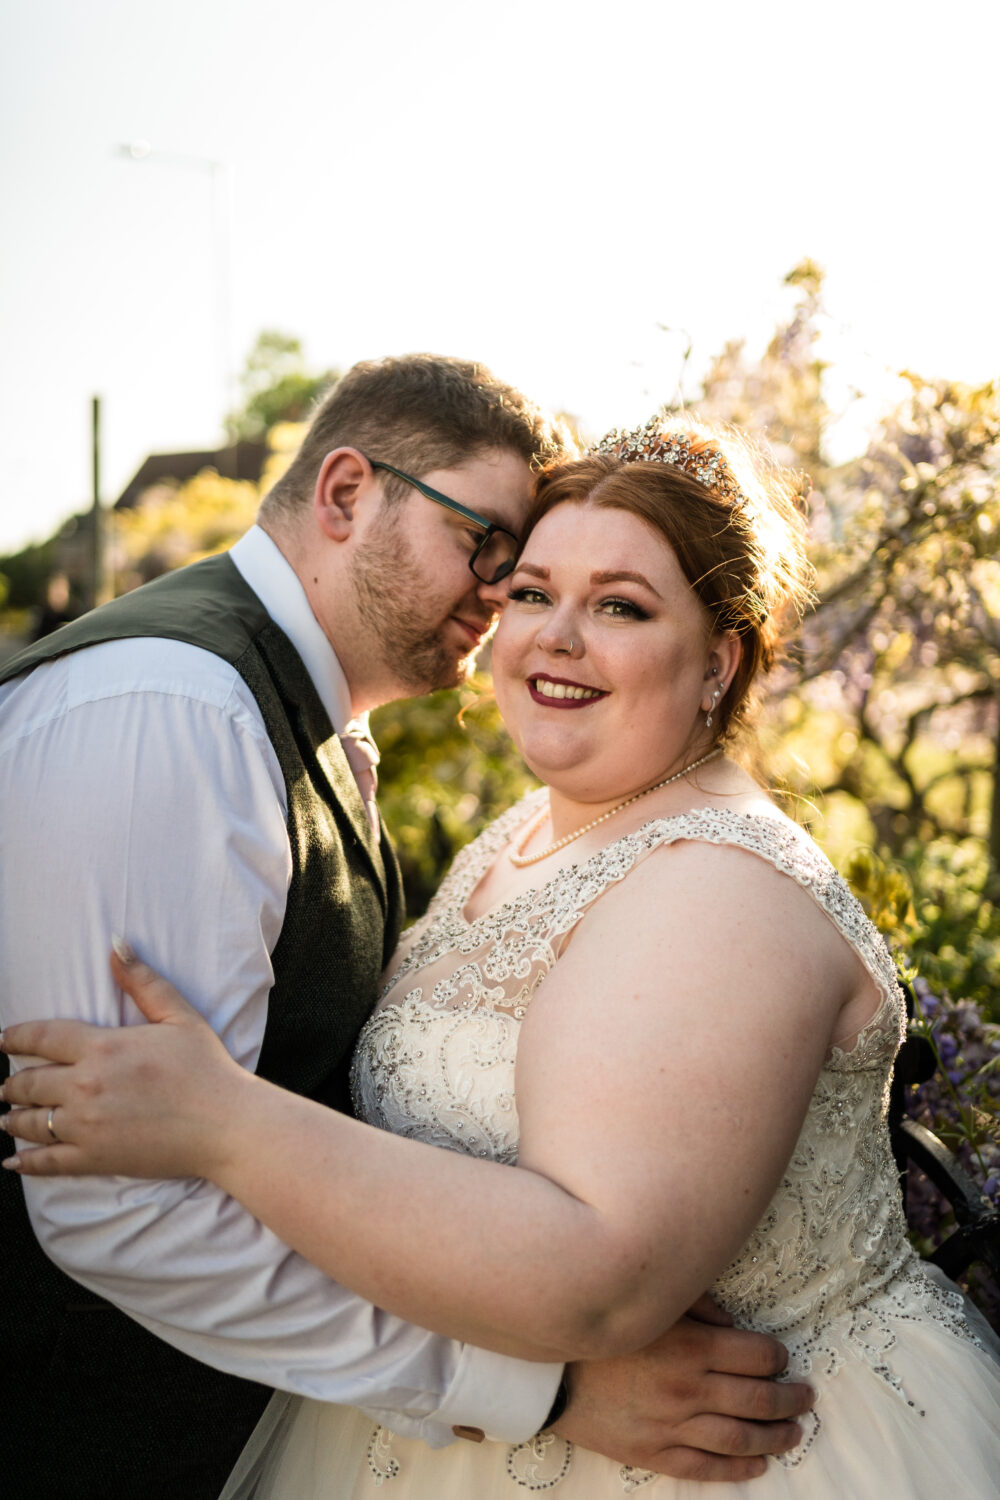
Emma is one of those brides. With years of makeup experience under her belt, she felt confident in creating her own wedding day look. In this guide, she shares her process, from preparation and trial runs to her must-have products and final reflections. If you’re considering doing your own wedding makeup, Emma’s advice will help you feel prepared, confident, and camera-ready.
However, if you’re unsure about doing it yourself, we’re always happy to recommend some brilliant professional makeup artists who can take the stress off your shoulders. Just let us know!
What inspired you to do your own makeup for your wedding?
I have always loved makeup, and enjoy doing my own. I’m not bad at it either, which helps 😂. I knew I would find it more calming to do my own makeup and have that ‘routine’ on the day of my wedding too.
How did you prepare for doing your wedding makeup? Did you take any makeup courses, watch tutorials, or practice specific looks?
I thought a lot about the colours I would wear on the day, and I researched which makeup would be best for the job. I didn’t take any courses or learn anything new, as I have been doing my own makeup for 20ish years.
However, as part of my love for makeup, I watched a lot of YouTube makeup ‘influencers’ and their tips which sunk in via osmosis over the years! The YouTube landscape has changed over the past few years, and QVC aka Tiktok is all the rage, but just for selling products not for giving tips and tutorials. Currently, I would recommend Ali Andreea, Julia Adams MUA, Alexandre Anele, and Shonagh Scott on YouTube for good tutorials.
How important were trial runs in your preparation process? How many times did you practice your wedding look before the big day?
Trial runs are massively important! You have to know how the makeup will wear throughout the day: your wedding day is generally incredibly long, and you want the makeup to hold up!
Also, not all makeup works for all skin types. I don’t wear the ‘full works’ day to day (so no foundation, concealer fake eyelashes, etc) so for about a year before the big day, I used evening social activities when I would normally put a face on as my practice time, to see what worked best with my skin type, what held up the longest, and what looked the nicest. I would also, occasionally, just play with makeup on a day off, seeing which eyeshadows blended well together, and what I enjoyed using.
What makeup tools and products did you find indispensable for creating your wedding look? Are there any brands or items you highly recommend?
First off, understand your skin and what works best for you (oily or dry? This affects what foundation looks best on you). Also, don’t don’t do something completely out of your comfort zone just because it’s your wedding day – you still need to look and feel like you – so don’t wear a full coverage foundation if you normally wear a skint tint!
Primer is great for holding down a base. I love a good grippy primer as the foundation sticks to it, and stays on all day. I love ELF Power Grip for this.
I also like to powder to ‘set’ my foundation afterward as this increases longevity. I used Lancome Loose Powder, but I also like Laura Mercier Translucent Loose Setting Powder or Rimmel Stay Matte Pressed Powder. I used Lancome as I used a Lancome foundation and they worked beautifully together.
Eyeshadow primer also increases the longevity of your eyeshadow, and causes less creasing. I used Milani Eyeshadow Primer.
Foundation, concealer, eyeshadows and mascara are all personal preference, you can get amazing eyeshadows from Superdrug such as MUA Academy – your makeup doesn’t need to break the bank.
Liquid lipsticks will stay on for hours. I adore the Maybelline Superstay 24 Matte ink, and the Huda Beauty liquid lipsticks. They will only budge if I eat. Some people can find liquid lipsticks drying, so test them out before hand.
To finish I used a makeup setting spray to lock everything in. I used Urban Decay All Nighter, but I also love ELF Power Grip Setting Spray, and Milani Make It Last.
I bought makeup brushes from Real Techniques and BH Cosmetics in the sales. I used a brush to apply the foundation, and then a Real Techniques damp Miracle complexion sponge to buff it into my skin.
What tips can you share for ensuring the makeup lasts throughout the day, especially for maintaining the look from the ceremony to the reception?
You can’t reapply liquid over powder, so if you set your foundation or concealer you can’t reapply throughout the day. I used blotting paper (Fenty Beauty) to get rid of any excess oils and reapplied my lipstick after eating. Aside from this everything stayed in place well due to all my steps previously.
If pondering over the foundation feels too heavy for you, then you can keep the damp beauty blender you used to apply the foundation in your bridesmaids bag (in a small plastic bag to protect everything). This will have leftover foundation on it so you can gently dab where needed if required.
Makeup will wear throughout the day, that’s normal, so don’t panic if you don’t look as fresh at 5pm as you did at 10am.
Doing your own makeup on such an important day can be nerve-wracking. How did you manage any wedding-day jitters related to your makeup?
I love a list, knowing what’s coming up, and what I need to do in order keep my neurodivergent brain happy. I made a list of what eyeshadow shades to use which helped. Aside from this, doing my makeup is therapeutic for me so I found this time helpful on my wedding day, as I was overall quite anxious. I felt I had control of something, and all the practice beforehand helped. Muscle memory can take over if you do it often enough 😉.
Did you have any backup plans in place in case something didn’t go as expected with your makeup?
Aside from an emotional breakdown? Unfortunately not! I can be quite tenacious, so I knew I would make it work. If all else failed my wonderful hairdresser was also a makeup artist, and she may have been able to save the day had I needed it. At a friend’s recent wedding (I was a bridesmaid) one of the other bridesmaids forgot her makeup, so the makeup artist/hairdresser was able to do her makeup for cash in hand, which was so kind of her!
How did you ensure your makeup would look good in photos? Were there any particular techniques or products that helped?
Whilst I don’t think flash is used often in wedding photography now, I was aware of flashback with some powders and SPF, so on occasions I had practiced my wedding make up, I would take a picture of my face using the flash on my phone (back camera), so see if there was any glare. I’m glad I did this as one loose power looked like I had been an extra in Scarface after a flash picture!
Note from Lisa: Please trial and error and wear SPF. Especially if you’re super pale as you don’t want sunburn in the photos 🙂
How did you prepare your skin in the weeks leading up to the wedding to ensure the best possible base for your makeup?
Have a skincare routine, at minimum cleanse, tone, moisturise AND WEAR SPF every day. A good base is key. I have been doing this for many years, but if you don’t, start about 6 months before the wedding as your skin can have more spots once you start a skin care routine. This will fade so don’t panic. A good routine doesn’t have to cost the earth: Superdrug has its own brand (which is vegan) which is brilliant, and The Ordinary is a firm favourite.
I am also a fan of dermaplaning (where hair is removed from your face), as I feel this makes makeup sit nicer on my face. If you really want to spoil yourself, regular facials would make your skin look beautiful, but again this is best started 6 months or more before the big day.
Based on your experience, what are the top do’s and don’ts for brides who want to do their own wedding makeup?
- Do make a list of your routine to keep you focused on the day.
- Do wash your makeup brushes beforehand.
- Do speak with your wedding party to help if required!
- Do make sure you have a banging playlist to help the vibes as you get ready
- Don’t let how your face looks consume your day. Your happiness will outshine any makeup.
- Don’t forget any makeup if you’re getting ready somewhere else. Make a list, and check it twice the night before!
- Don’t try something new and crazy on the day. Familiarity is key.
How did you incorporate makeup time into your wedding day schedule? How long did it take to apply, and how did you manage time efficiently?
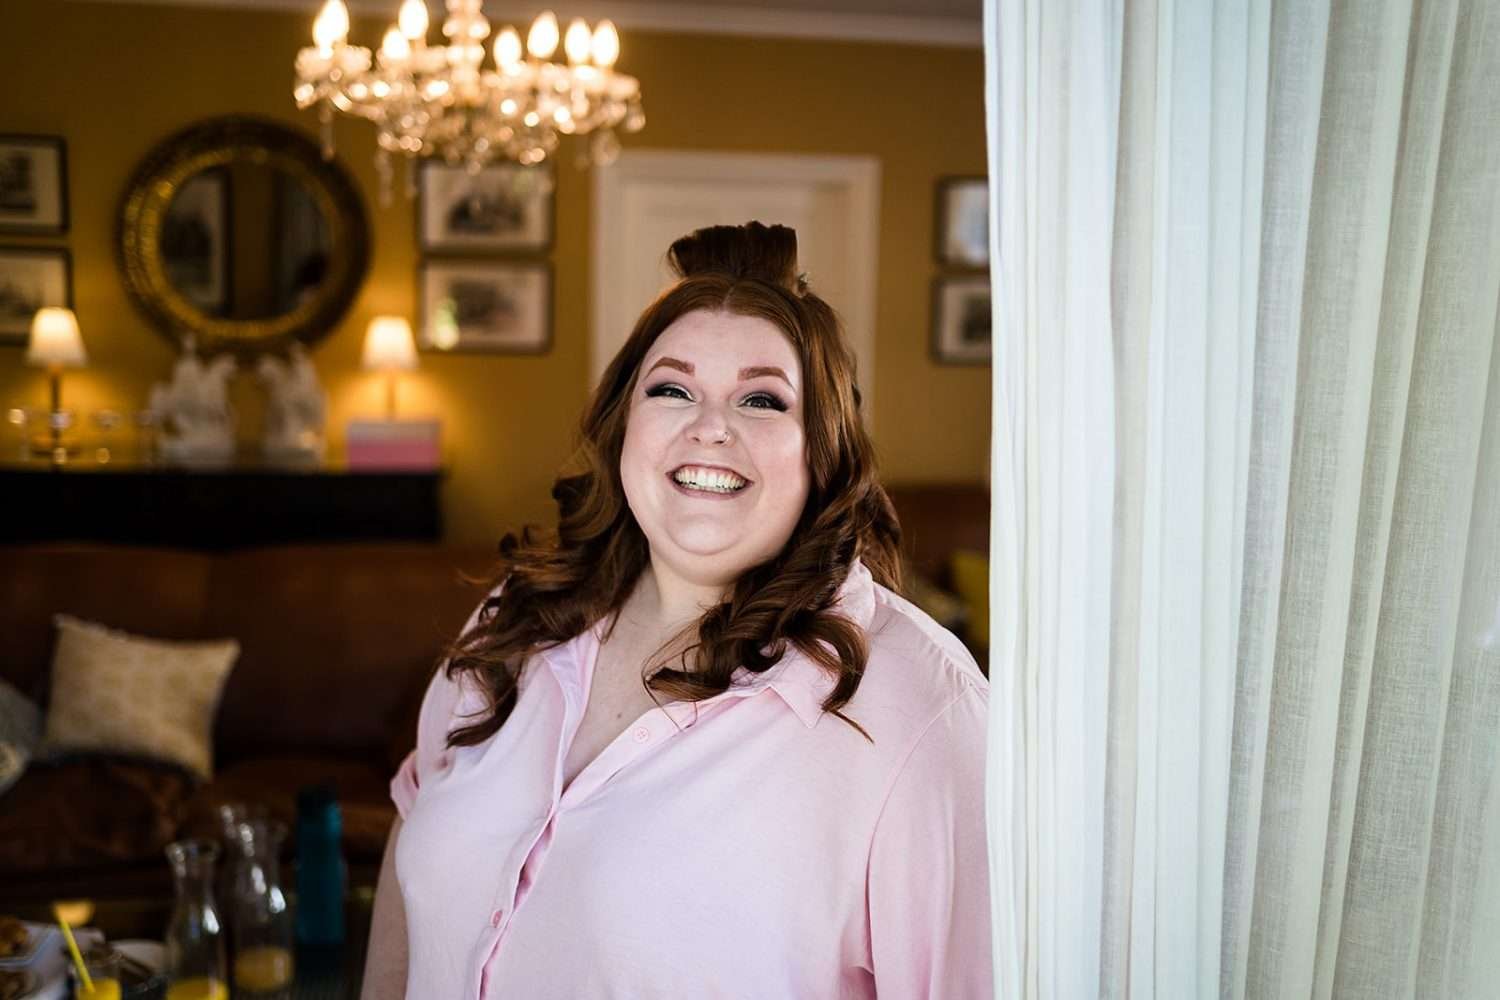
I timed my practice runs so I knew how long it would take me roughly from skincare to full face. I was guided by my hairdresser for how long she would need for each of the wedding party, so I made sure I worked around her. I also split up my makeup, so I did my skincare and eyes, then my hair, then my face base, and then got into my dress.
If you have a bridesmaid who is very organised you can ask them to make sure the morning runs to time too. The photographers and hairdressers will be so experienced in wedding prep trimming so use their knowledge!
What did you carry for touch-ups throughout the event? How often did you find yourself needing to adjust your makeup?
I had a little bag that contained my liquid lipstick, and I reapplied this once after eating. I also had some blotting papers and powder as I can get oily throughout the day, but didn’t end up using them! These items were placed in the brides bathroom, so I could use them whenever I used the loo. I also put eyelash glue in there just in case of an emergency!
Looking back, how satisfied were you with the decision to do your own makeup? Would you recommend it to other brides?
I really enjoyed doing my own makeup, it felt like a natural extension of a lifelong hobby. I even made a YouTube tutorial for my bridesmaids to follow as they did their own makeup too! 😂 (they smashed it and looked stunning!). I’m so happy with how everything came together, and I think I looked great. I would definitely recommend doing your own makeup if you feel confident to do so. It can be relaxing, on a very hectic day, and save some costs which is always helpful!
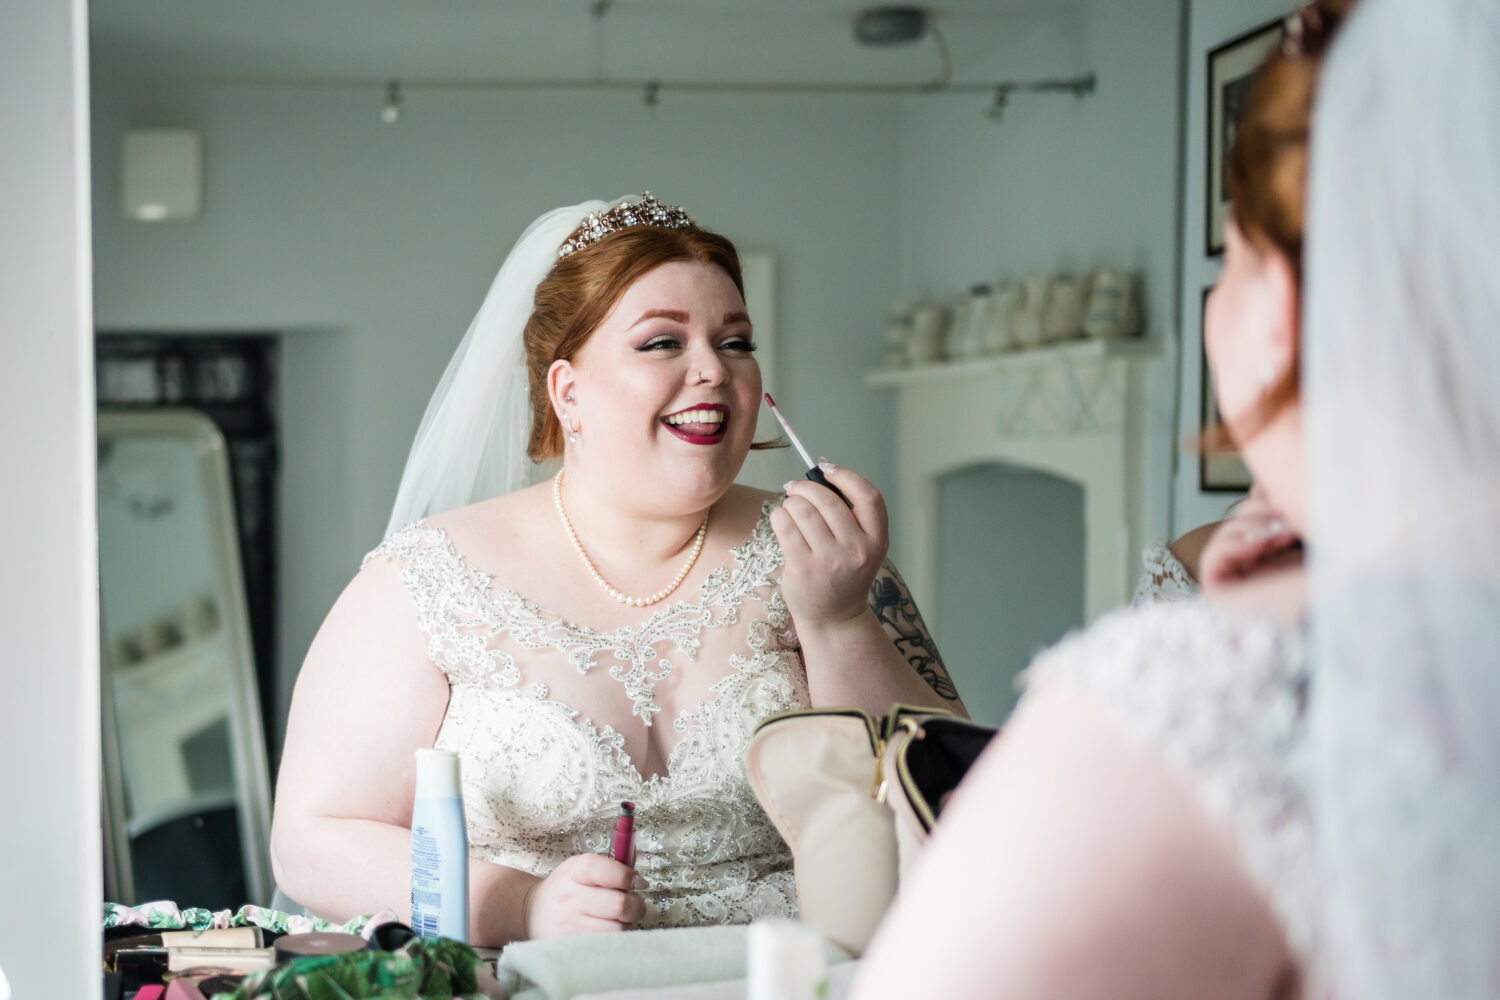
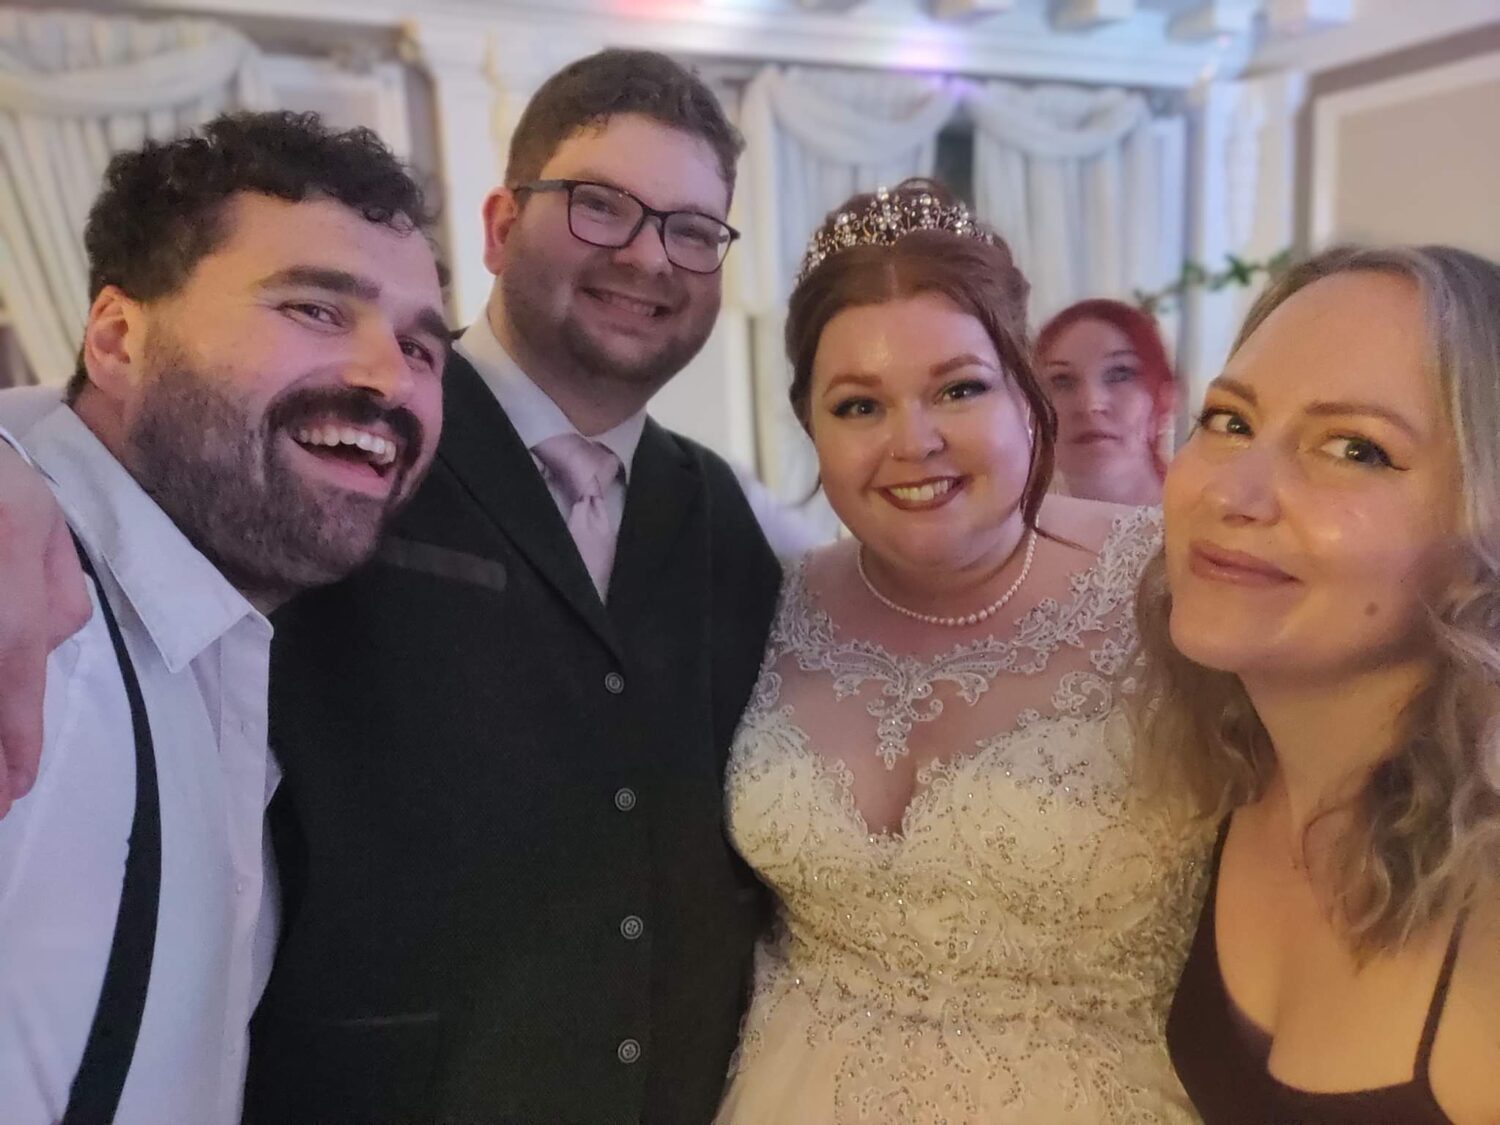
Here’s a pic of Emma’s makeup at the verryyy end of her wedding day. Impeccable!!
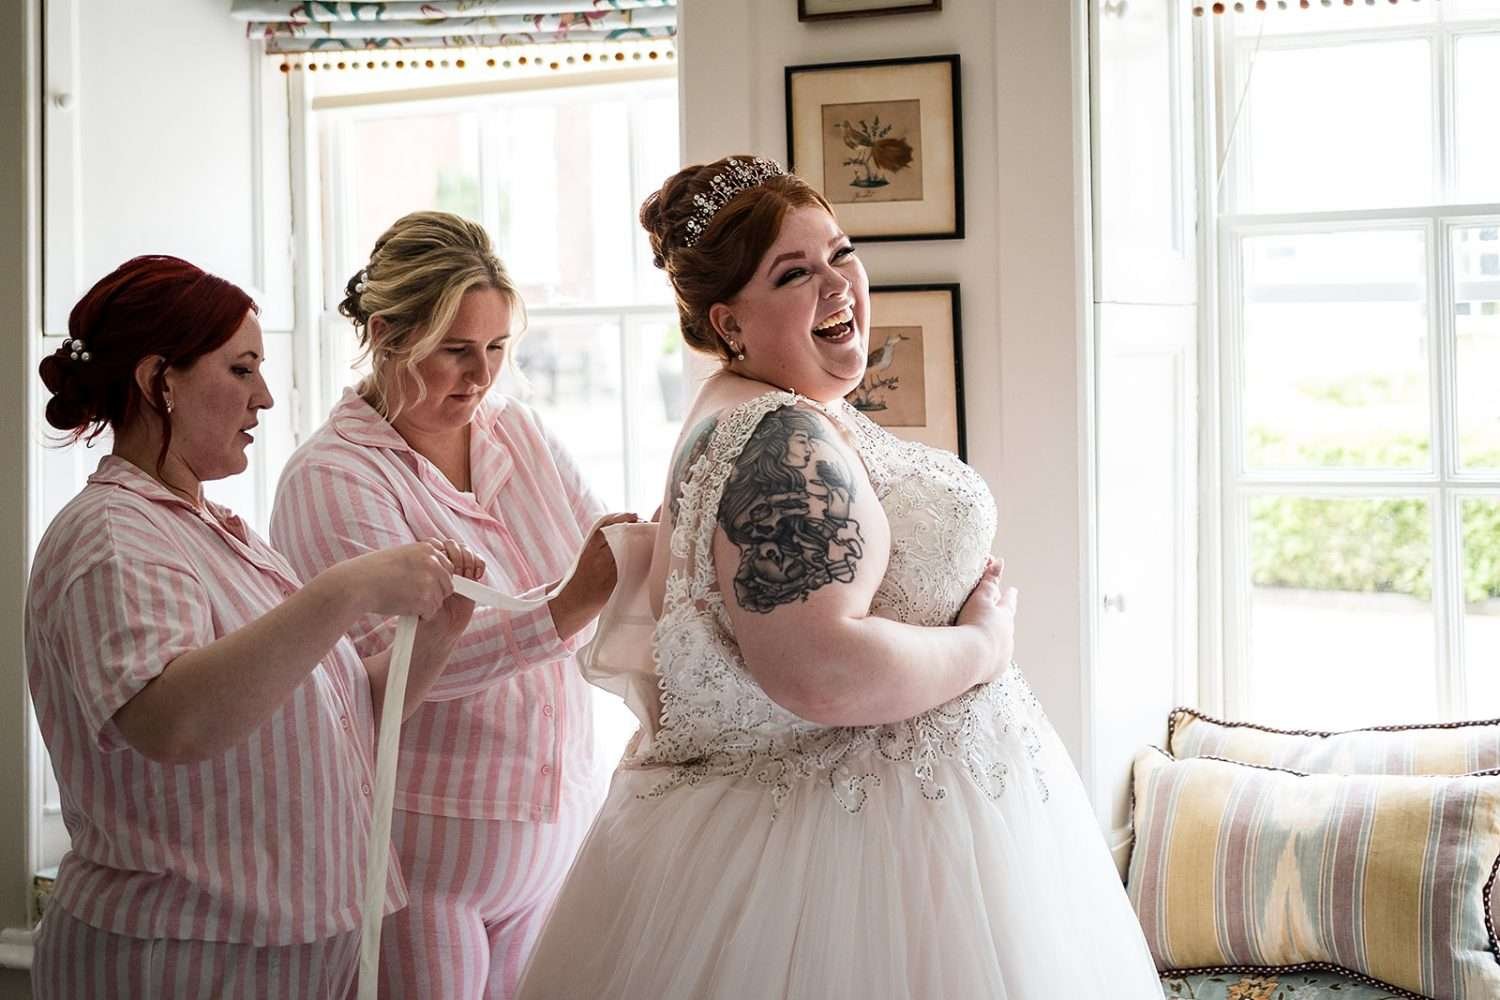
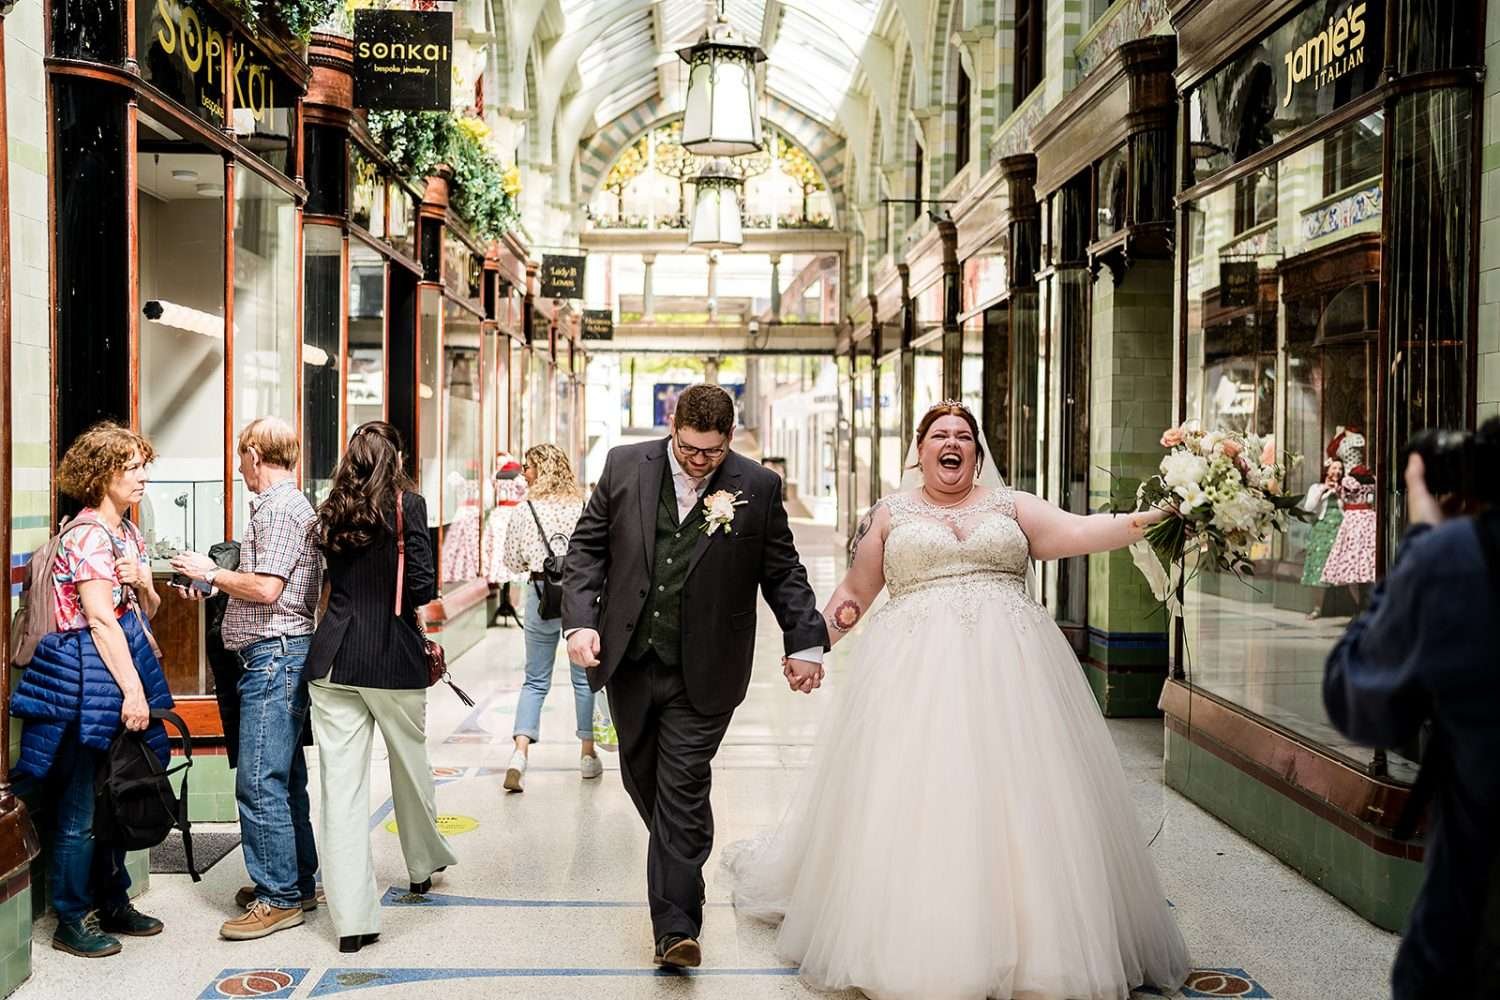
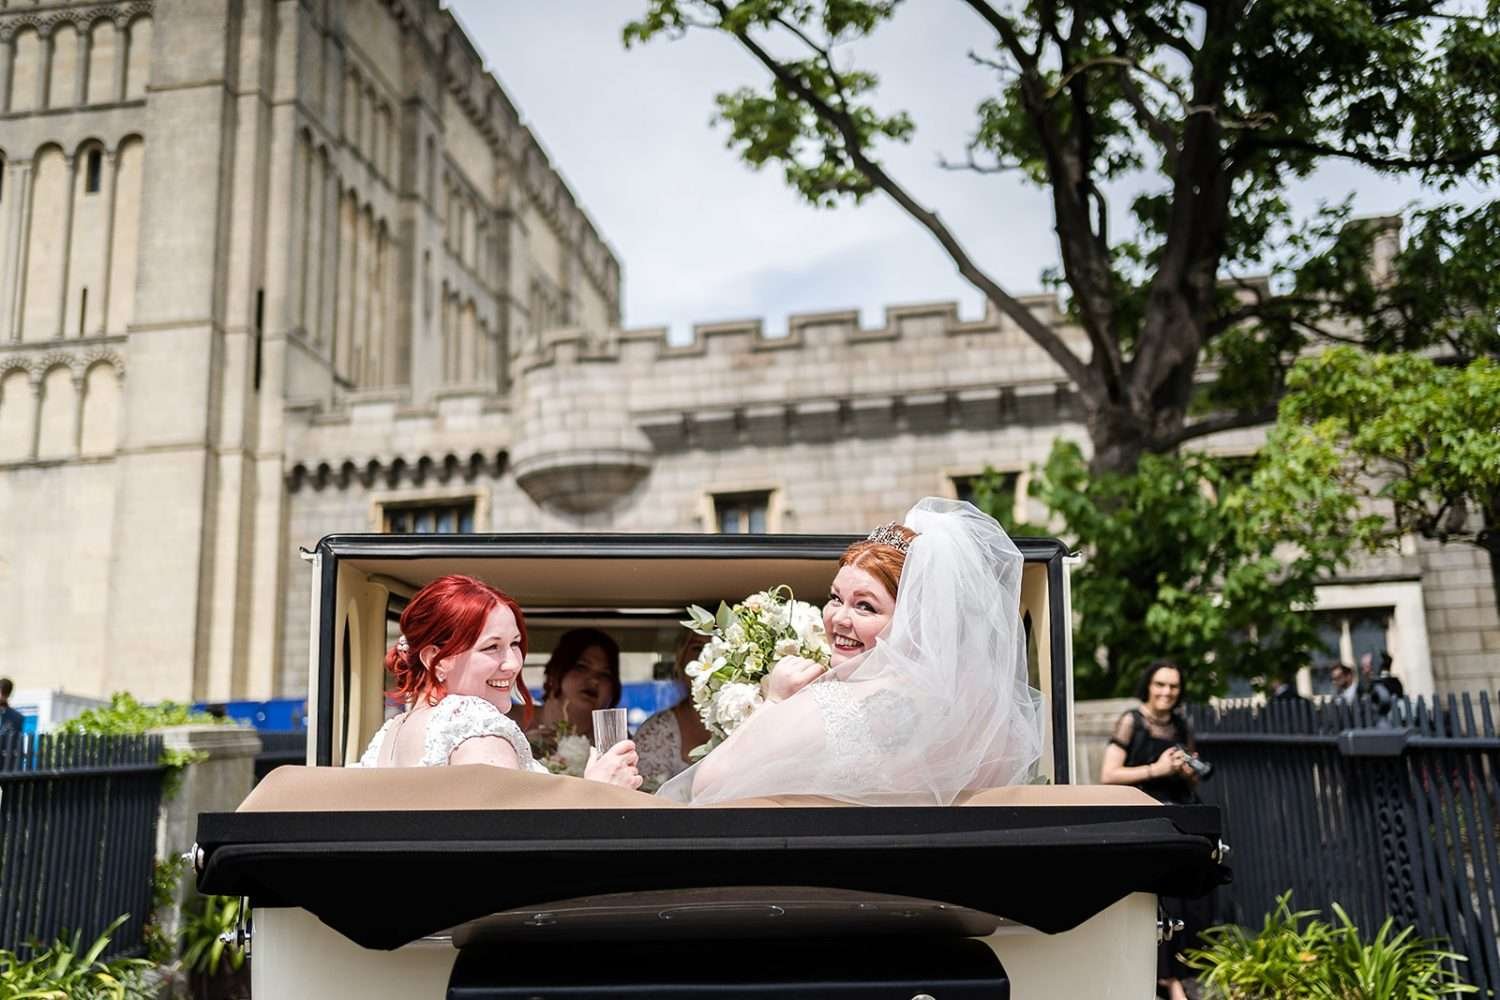
If you’d like to be super nosey (no shame), you can check out Emma and Jack’s wedding photos here.
